
Arsenal SAM7K upgrade work (Part 2).
This article covers the gunsmith work done by The AK Files member islandfocus2 on his Arsenal SAM7K milled AK pistol. His work included removing and replacing the front sight block and fake booster and replacing it with a threaded, functioning version. He also shortened and crowned the barrel.
Shortening the barrel to conform to the threaded FSB.


Smoothing process
using a Dremel tool.


This one is smoothing out the barrel with a Dremel stone.
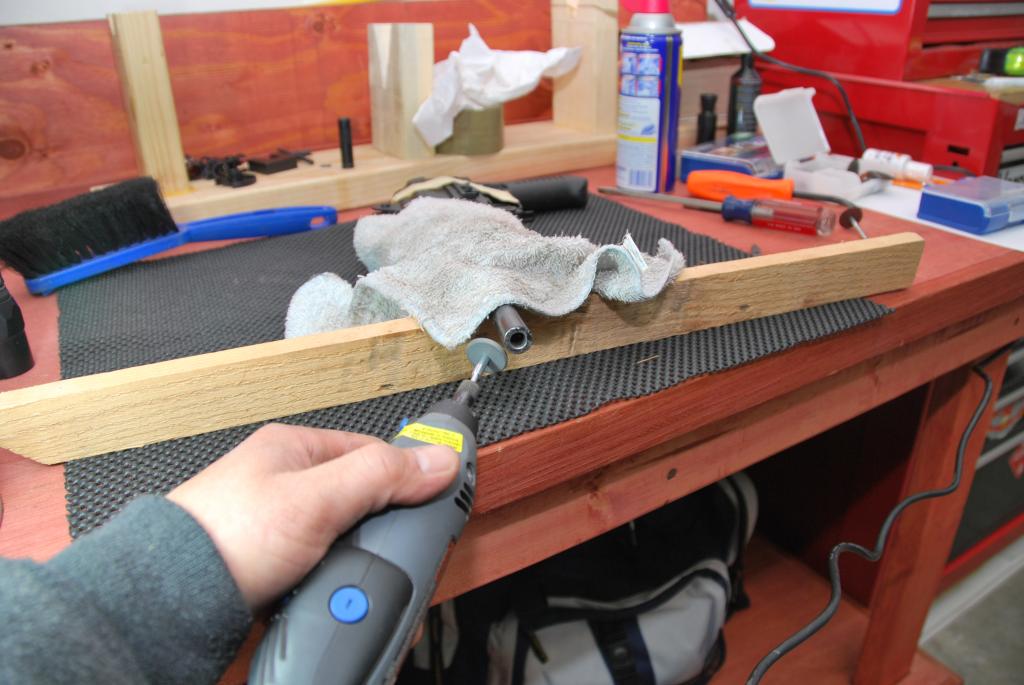
After removing the FSB with a Dremel tool. The preferred method would have been to press the FSB before trimming the barrel. I also used fine
sandpaper to smooth it even more.

Smoothed out the edges using a file before installing the new FSB. This will prevent burring while pressing. After removing the non threaded FSB, be sure to trim of the sharp edges of the barrel before pressing on the new FSB. This will prevent burring.

Drilling holes in the new FSB.
I drilled two holes using a 2.7mm DRILL BIT. The image below is the old FSB that I Dremeled out (You can see where I use the Dremel to cut the old FSB
in half). I thought I'd recreate the process of using the old FSB as an example
of how I drilled the new threaded FSB.

Do not drill all the way through (to the other end) the new FSB until you install it on the barrel. Drill only the first two holes until it goes through to the center.
Next, carefully press the new FSB onto the barrel and center the holes to the existing two slots that are already drilled on the barrel. Once you align the holes to the barrel, use a hand drill to carefully drill through the other end of the new FSB.

NOTE: The 2.7mm drill bit is slightly smaller than the pins.
So you may have to drill around the inside of the holes with your hand drill to
widen the holes.


Dremel/sandpaper and smooth out any small pits, dents or
scratches that you may have made while hammering the pin in before re-bluing
the FSB.

Touch up work.

Part three to come...
No comments:
Post a Comment